

Data Processing IV – Noise Removal and Data Truncation
In the XAFS test, the data we obtain is not necessarily smooth and has a good signal-to-noise ratio, but there will always be noise in the data due to factors such as uneven sample grinding, bubbles in situ, glitch of the light source itself, or an unreasonable piece of data, so it is necessary to use the function of noise removal or data truncation.


(1) Data truncation
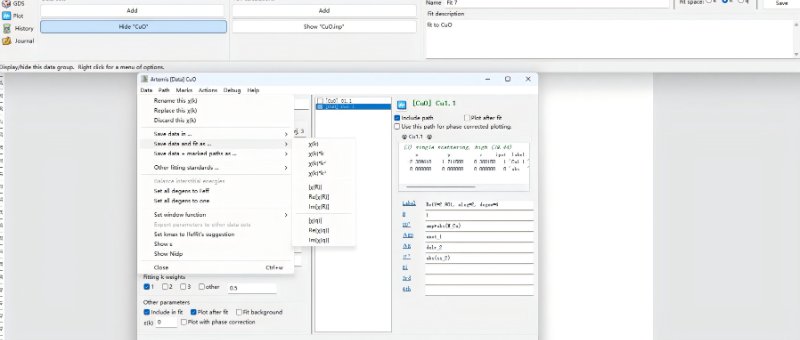
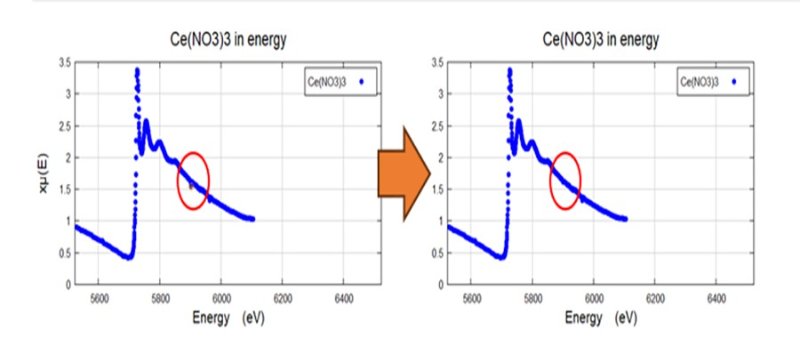
For some samples with similar absorption edges, when testing low-energy absorption edges, high-energy absorption edges tend to appear not far behind the edges, such as FeCo bimetal,L3/L2 of CeAbsorption edges, etc. As shown in the figure below, when L2 and L3 of Ce appear at the same time, it is necessary to truncate the absorption edge data of L2 after 6190eV. At this time, you need to use the Deglitch and truncate data module, use the Truncate function, click on the circle, double-click at the location where the data needs to be truncated, and select the corresponding Drop points, click on Truncata data, and then you can truncate the data.
(2) Remove a single noise
Noise removal is still done in the Deglitch and truncate data module. In this case, you can choose either m(E) or X(E), i.e., the noise is subtracted from the original data and the EXAFS region multiplied by the corresponding weights, respectively. Click the Choose a point button, and when the mouse rotates, you can double-click the noise you want to remove on the map, and then click Remove point.


(3) Remove multiple noises
When there are segments in the data that are not reasonable and are in the middle of the data and cannot be deducted by truncating the data, you can use the Deglitch many points feature. Click the circle to the right of Emin, double-click the starting point of the piece of data you want to remove on the original data, then click the circle to the right of Emax, double-click the end point of the piece of data you want to remove on the data, and then adjust the Margin so that most of the data points are outside the Margin. Click Remove points, then the data outside the two lines of Margin will be deducted.